 ( 194 ) 12-Mar-2015
I have set up the body of the guitar in the Universal Bindalator. This tool allows me to hold the router parallel to the sides while giving me freedom of movement elsewise. Because of all of the angles in a guitar a router with a flat platen won't do this. I need to do this so the channels do drift off in odd angles.
 ( 195 ) 12-Mar-2015
I move the router around the perimeter while a little roller controls the width of cut.
 ( 196 ) 12-Mar-2015
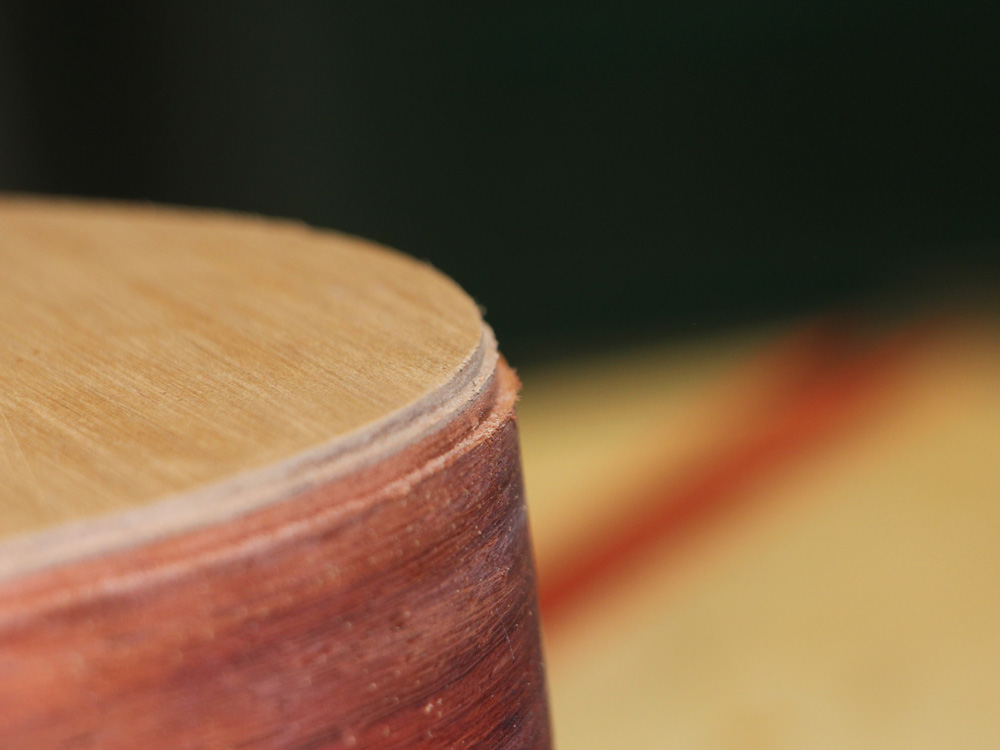
When I am done I have channels for the binding and purfling.
 ( 197 ) 12-Mar-2015
I use a chisel to make the channels for the heel binding.
 ( 198 ) 12-Mar-2015
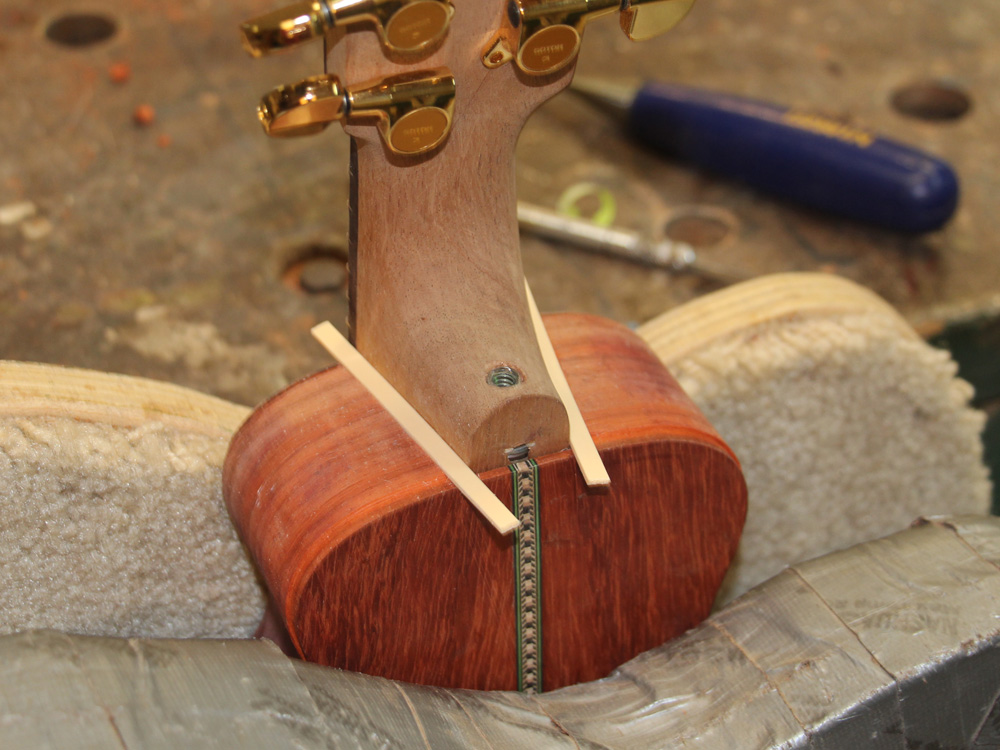
I install the neck and fit the binding so it makes a close fit to the heel.
 ( 199 ) 12-Mar-2015
Next I bend and glue the binding around the perimeter.
 ( 200 ) 12-Mar-2015
And then I sand the binding flush.
 ( 201 ) 12-Mar-2015
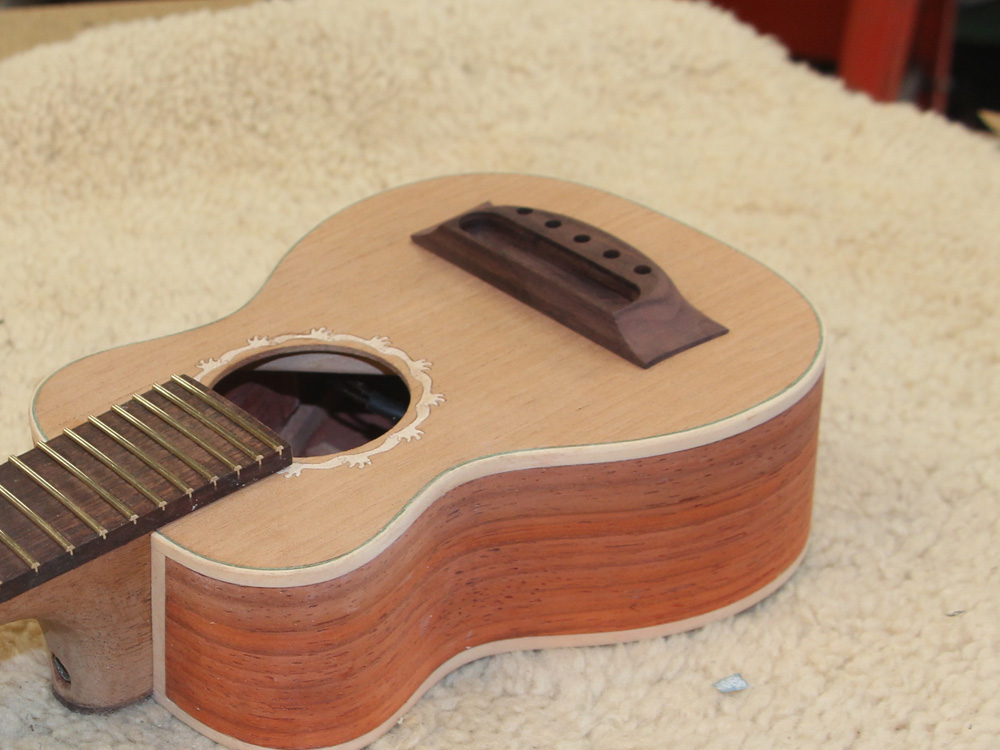
The little guitar is all dressed up.
 ( 202 ) 12-Mar-2015
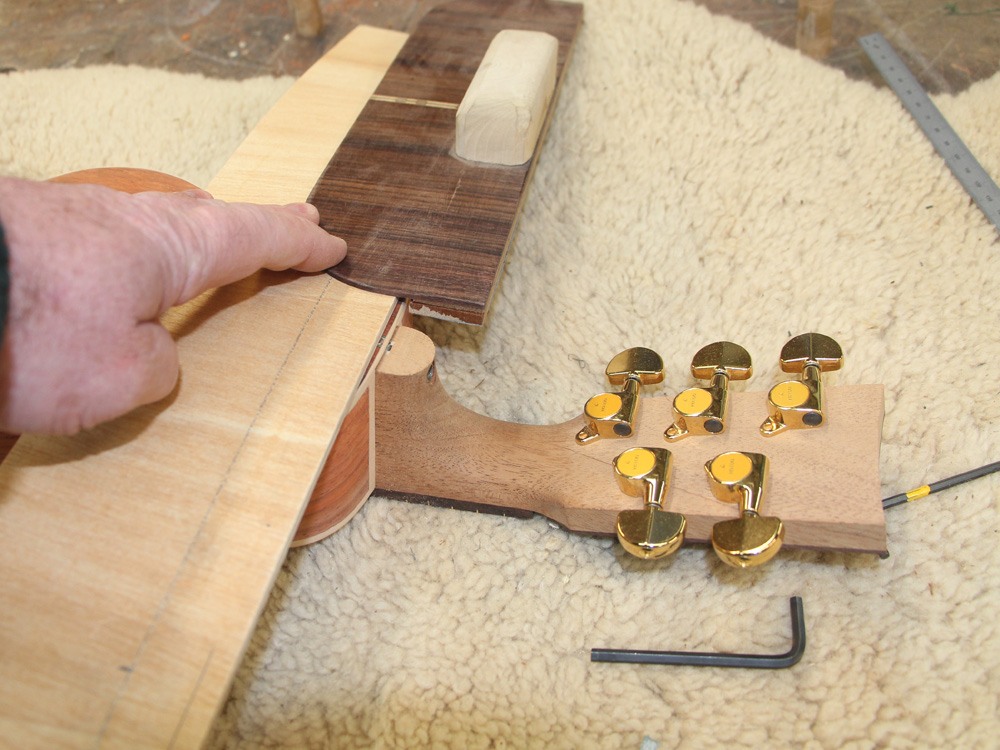
I use this special tool to sand the bottom of the heel so it matches the angle of the back.
 ( 203 ) 12-Mar-2015
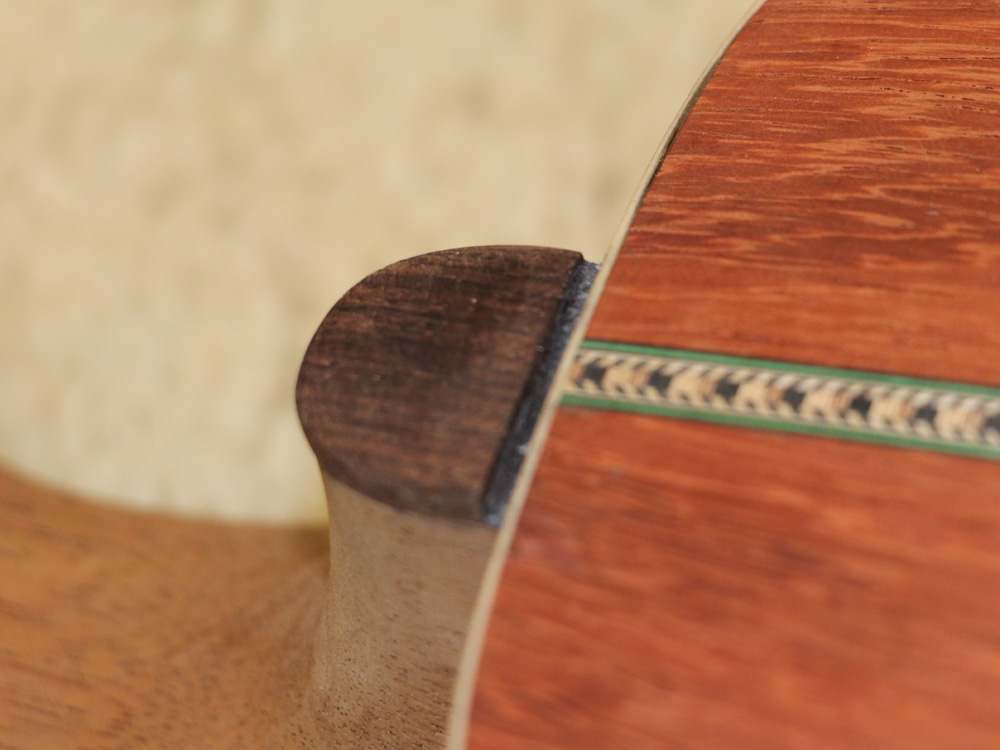
And then I install the heel cap so it is level with the back. The gap is there so the neck can pivot.
 ( 204 ) 12-Mar-2015
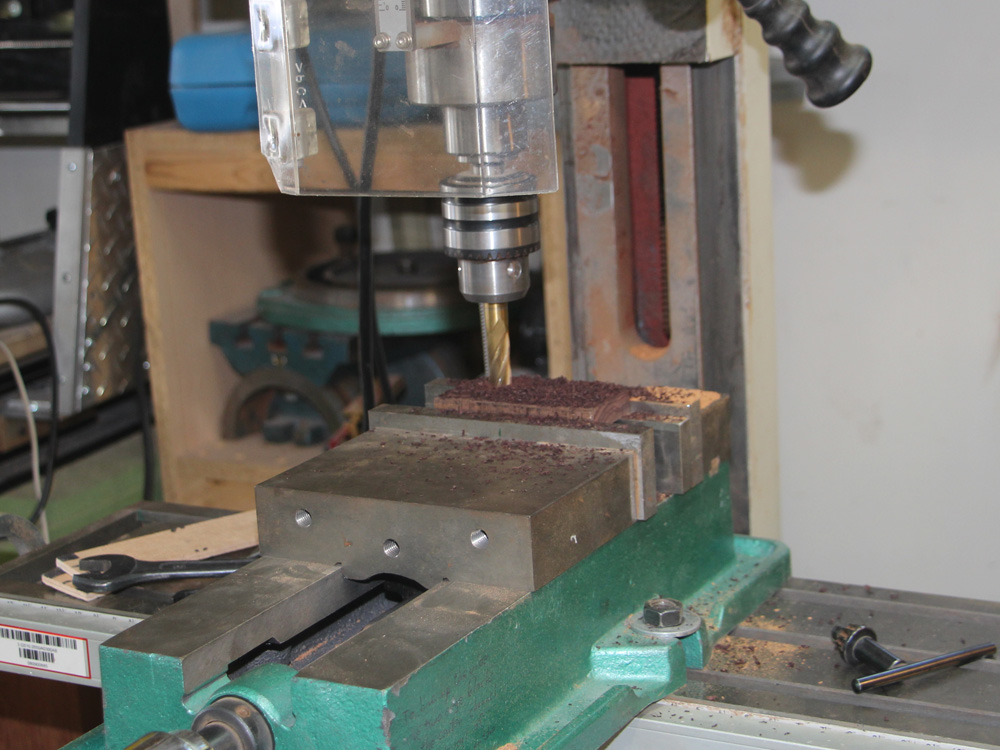
I start work on the bridge by routing out the saddle plate channel.
 ( 205 ) 12-Mar-2015
I use an oscillating to work on the wings.
 ( 206 ) 12-Mar-2015
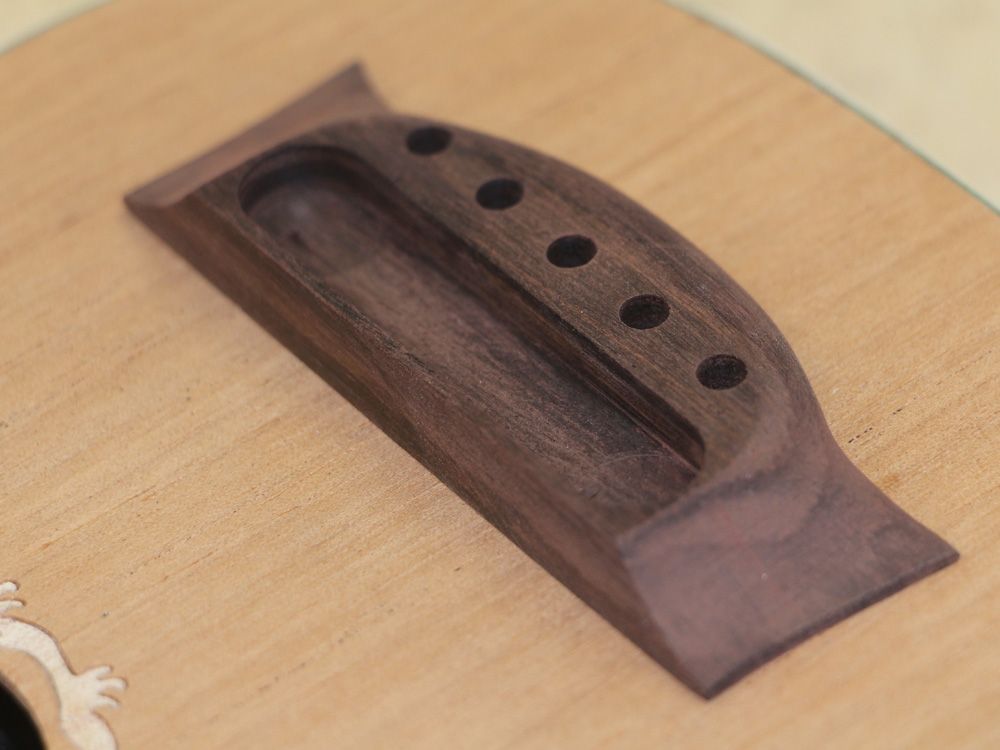
And then I drill the holes for the 5 bridge pins.
 ( 208 ) 12-Mar-2015
Now I use my milling machine to mill two slots into the side of the bone saddle blank.
 ( 209 ) 12-Mar-2015
And then the CNC tool is used to mill the slots in the saddle plate.
 ( 210 ) 12-Mar-2015
And here you can see how they fit together.
 ( 211 ) 12-Mar-2015
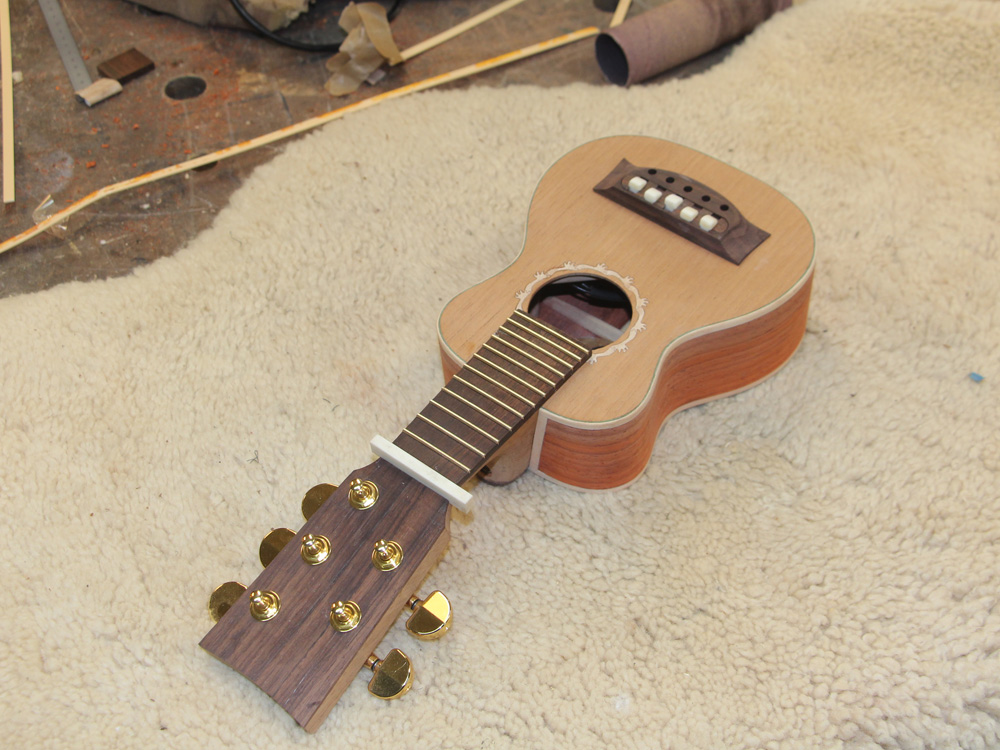
I cut the saddle blank into short blocks and then shape the blocks into graceful little supports for the strings that can be easily slid forward and backward and won't fall off when the strings are changed. By going to all of this trouble I can adjust the length of each string individually so all of the strings get the best intonation possible.
 ( 212 ) 12-Mar-2015
I use a specially modified file to dress the end of the fret wires. I like to make the ends so they have a smooth spherical shape.
 ( 213 ) 12-Mar-2015
The frets get a high shine.
 ( 214 ) 12-Mar-2015
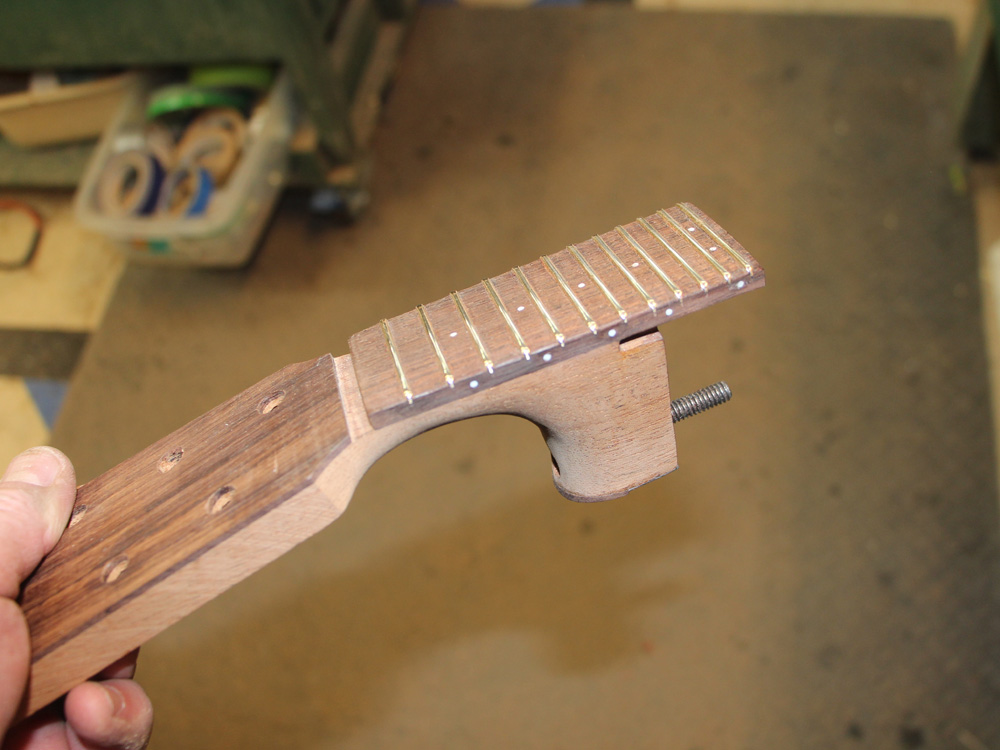
And then I install the fretboard dots.
 ( 215 ) 12-Mar-2015
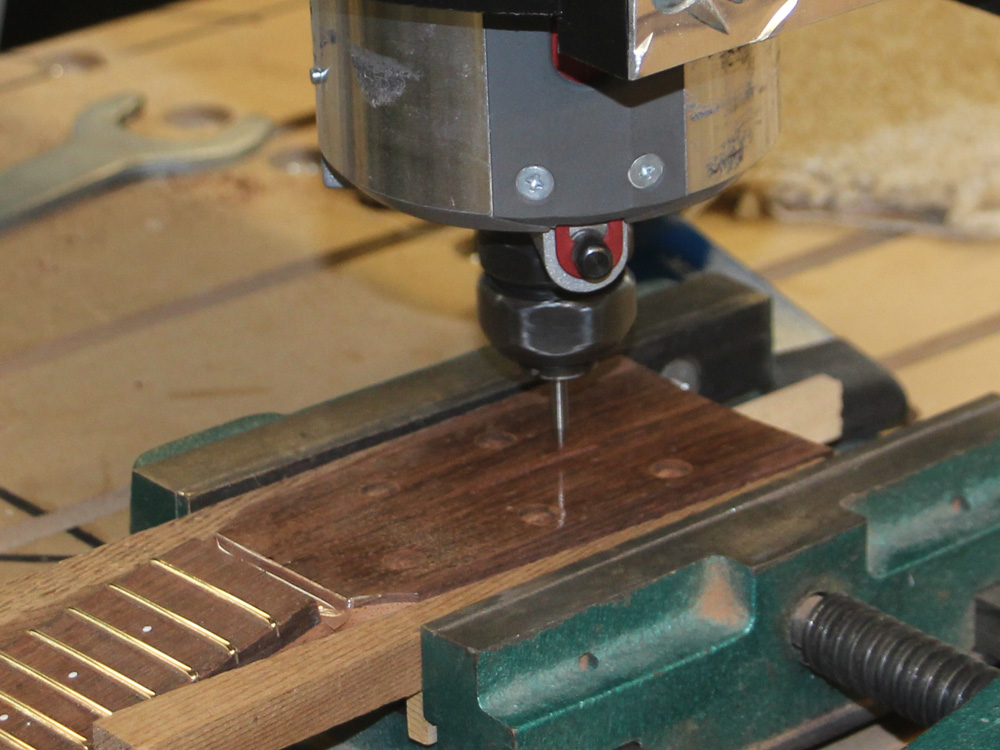
I have a little itty bitty end mill that I use to route the channel for the "Portland Guitar Rose".
 ( 216 ) 12-Mar-2015
My daughter's name is Jasmine Rose and I asked her to design a rose for me and this is what she came up with. She's a doctoral candidate at Stanford now... she grew up and moved away.
 ( 194 ) 12-Mar-2015
 ( 195 ) 12-Mar-2015
 ( 196 ) 12-Mar-2015
 ( 197 ) 12-Mar-2015
 ( 198 ) 12-Mar-2015
 ( 199 ) 12-Mar-2015
 ( 200 ) 12-Mar-2015
 ( 201 ) 12-Mar-2015
 ( 202 ) 12-Mar-2015
 ( 203 ) 12-Mar-2015
 ( 204 ) 12-Mar-2015
 ( 205 ) 12-Mar-2015
 ( 206 ) 12-Mar-2015
 ( 207 ) 12-Mar-2015
 ( 208 ) 12-Mar-2015
 ( 209 ) 12-Mar-2015
 ( 210 ) 12-Mar-2015
 ( 211 ) 12-Mar-2015
 ( 212 ) 12-Mar-2015
 ( 213 ) 12-Mar-2015
 ( 214 ) 12-Mar-2015
 ( 215 ) 12-Mar-2015
 ( 216 ) 12-Mar-2015
 ( 217 ) 12-Mar-2015